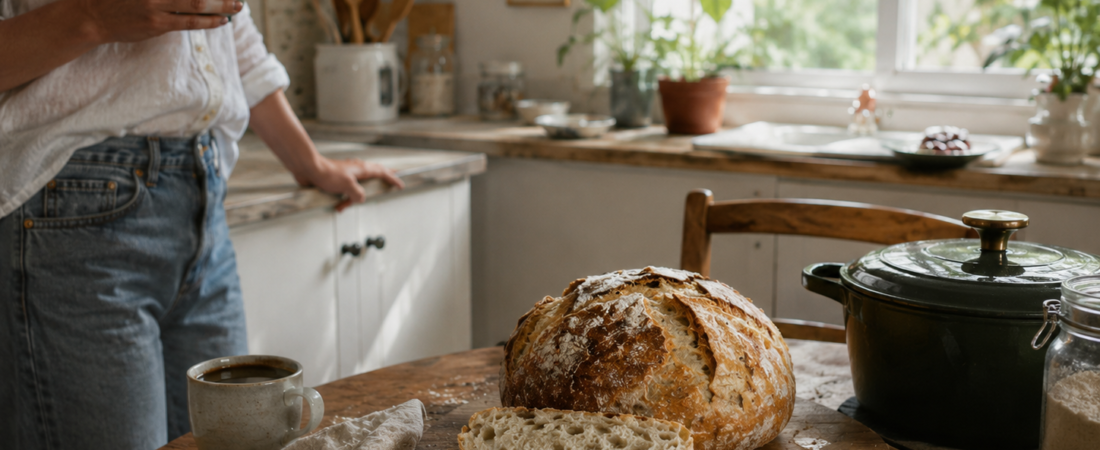
There are weekend recipes that keep you in the kitchen all afternoon, and then there are recipes that quietly work around your plans.
This bread is the second kind.
You mix four basic ingredients in a bowl, leave the dough alone for most of the night, and come back the next day to something ready for the oven. There is no kneading, no stand mixer, and no need to know much about bread making beforehand.
It is less a baking project than a particularly good thing to have happening in the background of a slow weekend at home.
Why This Bread Works So Well for a Weekend
Most of the work here is actually waiting.
A long rise gives the dough time to develop flavor and structure without repeated kneading or complicated techniques. Your active involvement is limited to mixing, shaping the dough loosely, and putting it in the oven.
A particularly easy rhythm is:
Friday night: mix the dough.
Saturday morning: check it, shape it, and let it rest.
Late Saturday morning: bake.
Saturday lunch: wonder why you do not make bread more often.
You can also start it on Saturday and bake later that evening. The recipe is forgiving enough to fit around the rest of your weekend.
Easy No-Knead Bread
Makes
1 large loaf
Active time
About 15 minutes
Rising time
12–18 hours, plus a short final rest
Bake time
About 45 minutes
You’ll Need
- 4 cups (480 g) all-purpose flour
- 2 teaspoons fine sea salt or kosher salt
- 1/2 teaspoon instant yeast
- 1 1/2 cups (355 ml) room-temperature water
- Extra flour for handling the dough
That is it.
No sugar. No oil. No starter.
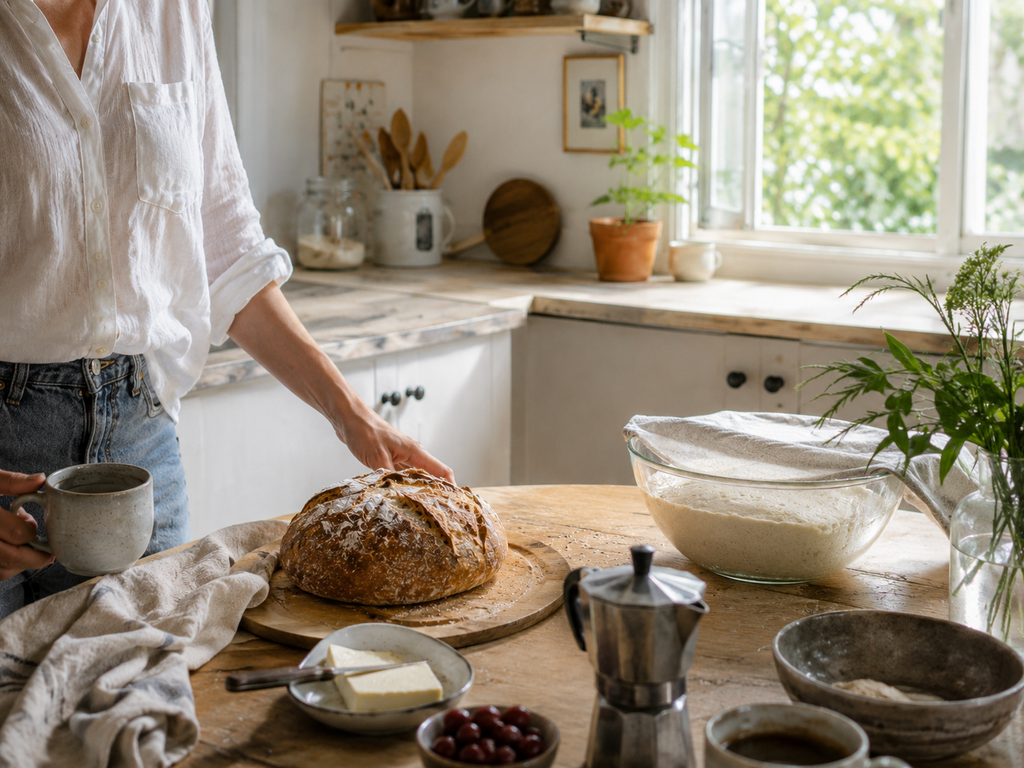

How to Make No-Knead Bread
1. Mix the Dough
In a large bowl, stir together the flour, salt, and instant yeast.
Pour in the water and mix with a wooden spoon or sturdy spatula until there are no obvious patches of dry flour left.
The dough will look rough, sticky, and considerably less impressive than you may expect.
That is exactly right.
Do not add extra flour just because the dough feels wet, and do not start kneading it. This is supposed to be a loose, slightly messy dough.

2. Cover It and Leave It Alone
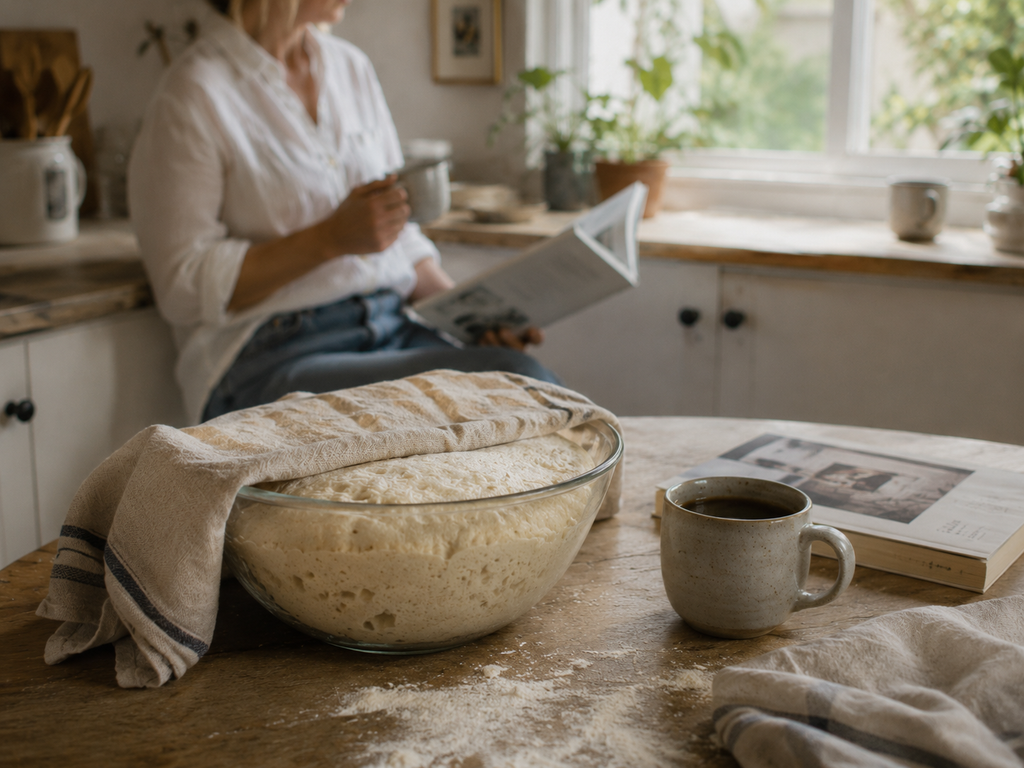
Cover the bowl with a clean kitchen towel, plate, or reusable bowl cover.
Leave the dough at room temperature for approximately 12 to 18 hours.
A cooler room may need a little longer. A warmer kitchen may move faster.
You are looking for dough that has expanded noticeably and developed bubbles across the surface.
This is the useful part of no-knead bread: while the dough is getting better, you can go to bed, make coffee, take the dog out, read something, leave the house, or do absolutely nothing productive.
3. Shape It — Loosely
When the dough looks puffy and bubbly, lightly flour your hands and the work surface.
Gently turn the dough out of the bowl.
Fold the outside edges toward the center several times until you have a loose round shape.
Do not worry about making it perfect. In fact, aggressively working the dough at this stage can knock out the air you just spent all night developing.
Place the dough seam-side down on a sheet of parchment paper and let it rest while the oven heats.
The Dutch Oven Is the Useful Part
A covered Dutch oven traps steam around the dough while it bakes.
That humid environment helps the loaf expand before the crust becomes firm, giving you a crisp exterior without having to create steam separately inside the oven.
A 5- to 7-quart Dutch oven works well for this recipe.
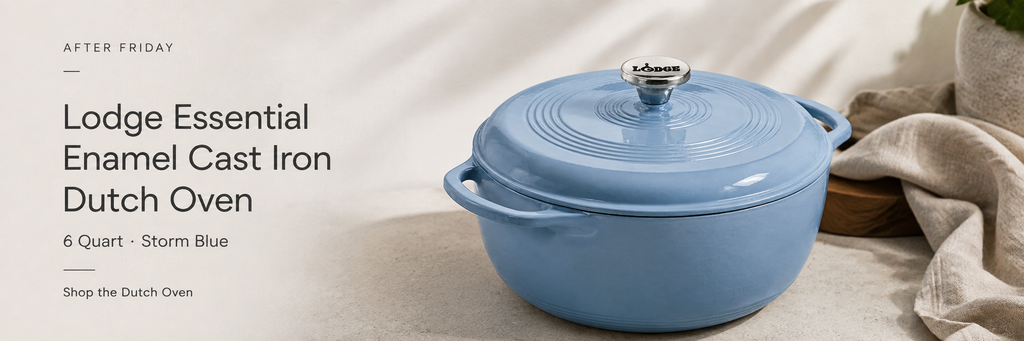
If you already have one, use it. This recipe does not require a bread-specific pot.

4. Heat the Oven
Place the empty Dutch oven and lid inside your oven.
Heat to 450°F (230°C) and allow the pot to preheat for about 30 minutes.
Preheating the Dutch oven is worth the extra time. The intense heat gives the dough an immediate boost when it goes into the pot.
5. Bake
Carefully remove the hot Dutch oven.
Use the parchment paper to lower the dough into the pot.
Cover with the lid and bake for 30 minutes.
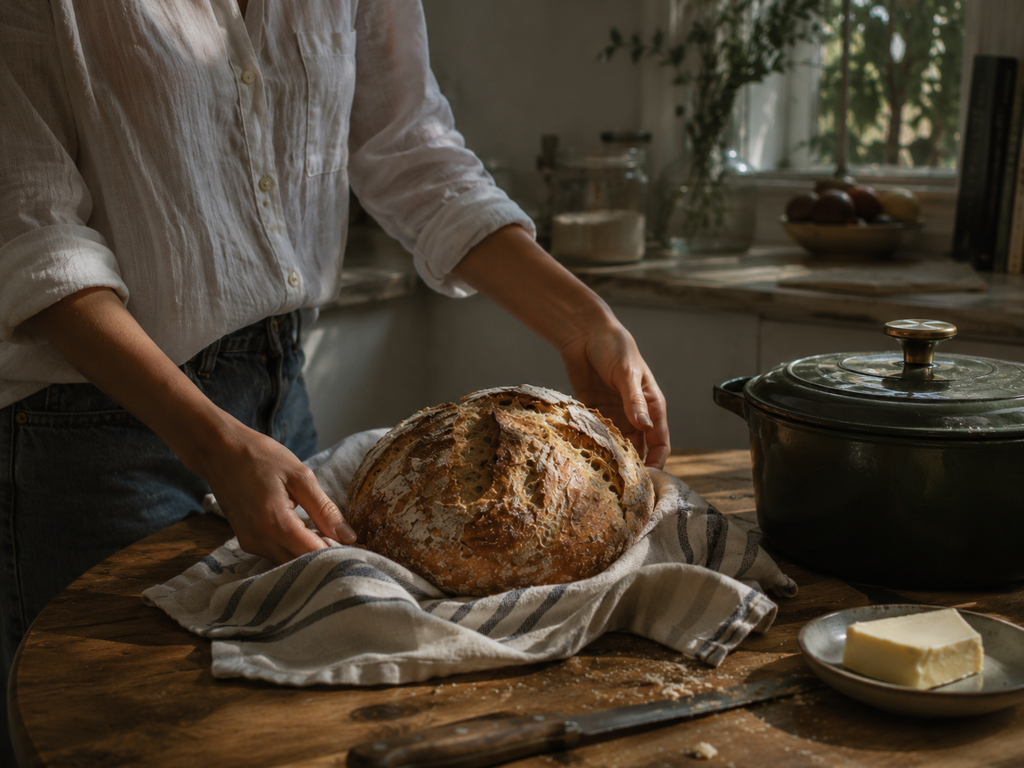
Remove the lid and continue baking for approximately 12 to 15 minutes, until the crust is deeply golden brown.
Different ovens brown bread at different speeds, so start looking at it around the 10-minute mark after removing the lid.
The Difficult Part: Let It Cool
Transfer the loaf to a cooling rack or wooden board.
Try to leave it alone for at least 30 minutes, and preferably closer to an hour.
Fresh bread smells as though it should be cut immediately. Unfortunately, slicing it too early can compress the interior and make the crumb seem gummy.
Waiting gives the inside time to finish setting.
Consider this the final no-knead requirement: doing nothing.
How to Know Your Bread Is Done
The finished loaf should have:
- a deeply golden crust
- a firm exterior
- a noticeably lighter feel than the raw dough
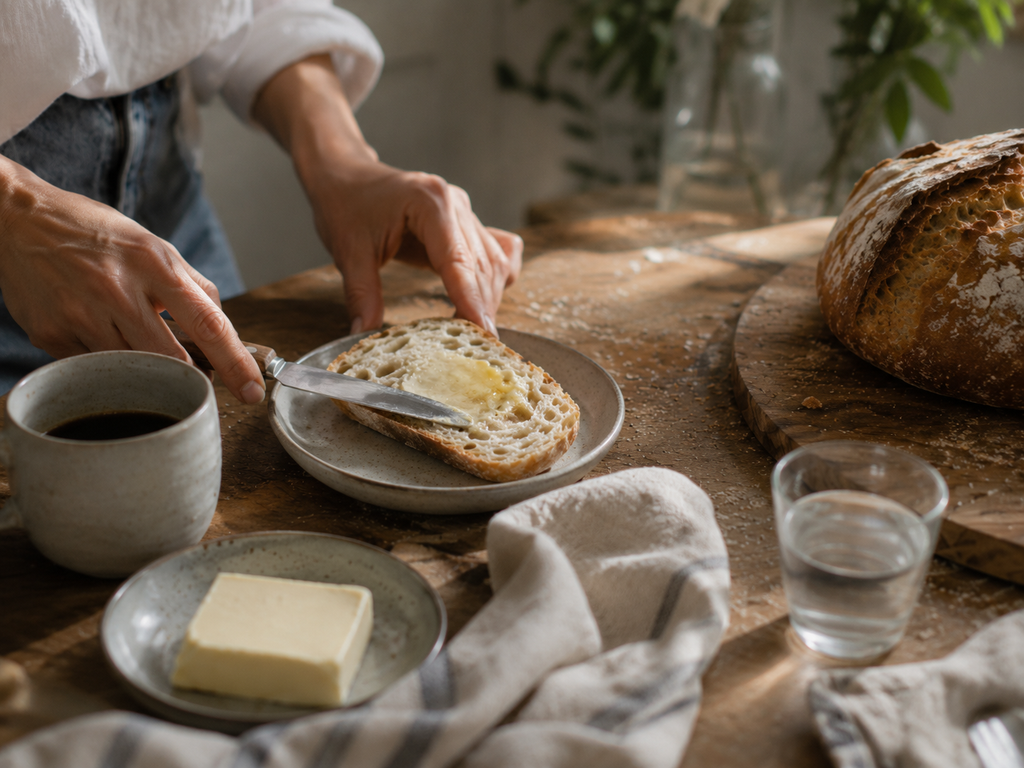
- an airy but slightly irregular interior
Do not judge homemade bread against perfectly symmetrical bakery loaves.
Uneven cracks, a slightly lopsided shape, and an irregular crumb are entirely normal: especially with a deliberately simple recipe like this one.
What to Eat With It
The first slice probably needs nothing more complicated than good butter and a little salt.
After that, this bread works with almost anything you would normally buy a crusty loaf for:
- soft scrambled eggs
- soup
- cheese
- tomato toast
- olive oil and flaky salt
- sandwiches
- jam or honey
- a simple weekend lunch
It also makes excellent toast the following morning.

How to Store No-Knead Bread
This bread is at its best on the day it is baked, particularly while the crust is still crisp.
For the next day, store it cut-side down on a wooden board or wrap it loosely in a clean towel.
For longer storage, slice the loaf and freeze the slices in an airtight bag or container.
You can toast individual slices straight from frozen.
Avoid refrigerating the bread unless you have a specific reason to; refrigeration tends to make bread stale faster.
A Few Useful No-Knead Bread Tips
If the dough looks too sticky
It probably is not.
This dough should be much softer than conventional kneaded bread dough. Flour your hands rather than repeatedly adding flour to the dough.
If your kitchen is cold
Give the dough more time.
Bread fermentation follows the temperature of the room more than the clock.
If the dough rises faster than expected
Move on to shaping and baking when it looks airy and bubbly rather than insisting on an exact number of hours.
If the bread spreads instead of rising tall
The dough may have fermented for too long or become overly warm. It will usually still taste good.
If the bottom gets too dark
Place a baking sheet on the rack beneath your Dutch oven next time. It can reduce some of the direct heat reaching the bottom of the pot.
A Simple Weekend Timeline
If you want to make this without thinking much about timing, use this version:
Friday, 9:00 PM
Mix the dough and cover the bowl.
Saturday, 9:00–10:00 AM
Check the dough. Shape it and leave it to rest.
Saturday, 10:00 AM
Start preheating the Dutch oven.
Saturday, 10:30 AM
Bake the bread.
Saturday, around 11:15 AM
Take it out of the oven.
Around noon
Cut the first slice.
Almost the entire recipe happens while you are doing something else.
And that is really the appeal.
Not every weekend project needs to become a project.
Sometimes it is enough to mix flour, water, salt, and yeast before bed — and wake up knowing that sometime before lunch, the kitchen is going to smell like fresh bread.
Want to keep this one?
Download the printable recipe card and save the full no-knead bread recipe for your next slow weekend at home.

Affiliate Disclosure
Disclosure placement: Before the first affiliate-linked product card or affiliate link.
Publishable disclosure:
As an Amazon Associate, After Friday earns from qualifying purchases. If you buy through one of our links, we may earn a commission at no additional cost to you.