
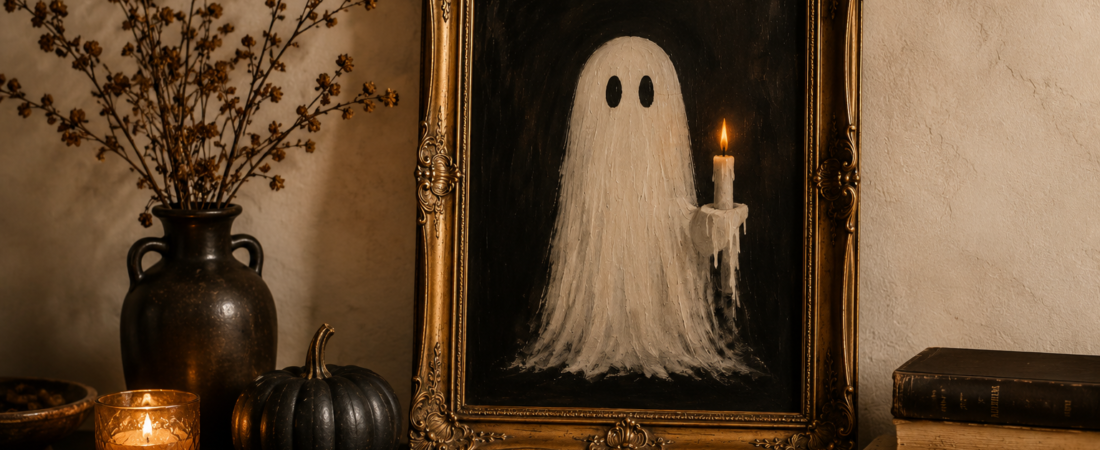
Halloween DIYs have a tendency to fall into two categories: adorable but very obviously homemade, or beautiful but complicated enough that you never actually make them.
This little ghost sits somewhere much nicer in the middle.
It’s playful enough to feel like Halloween, but framed and styled with the right pieces, it looks surprisingly at home among the rest of your fall decor.
And the best part?
You really don’t need to know how to paint.
There are no complicated proportions, detailed trees or perfect lines here. If you can paint a loose arch, two ovals and a tiny candle, you can make this.
Time: Around 1–2 hours
Difficulty: Beginner
Canvas: 8 × 10 in
Palette: Black, warm white, taupe, brown + a tiny amount of orange/yellow
What You’ll Need
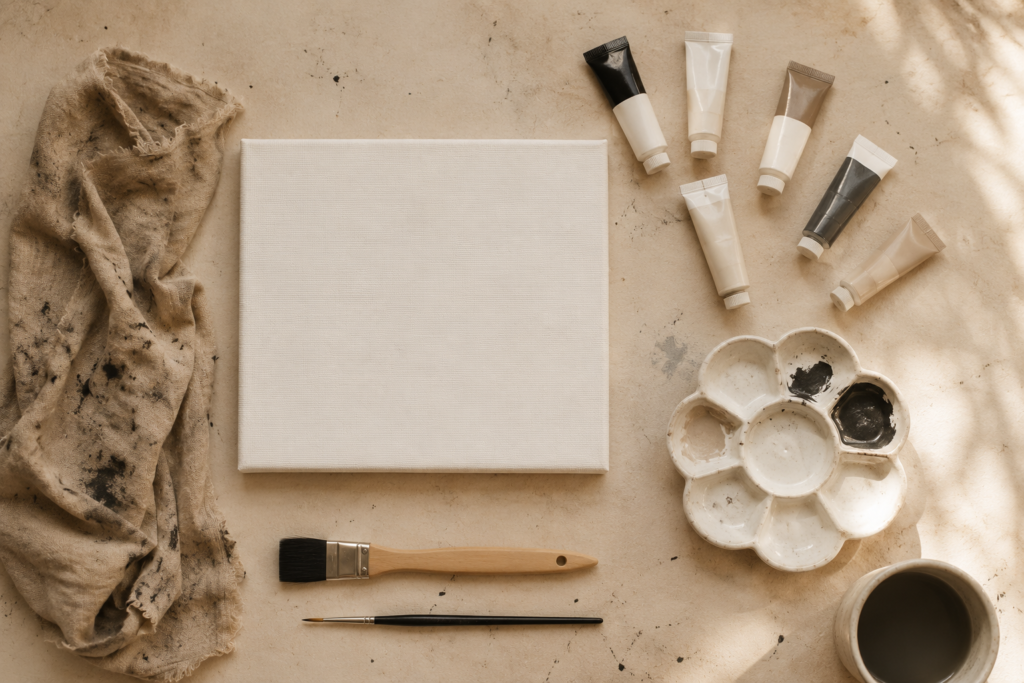
You don’t need an enormous paint collection for this project.
In fact, keeping the palette limited is part of what stops our friendly little ghost from looking too cartoonish.
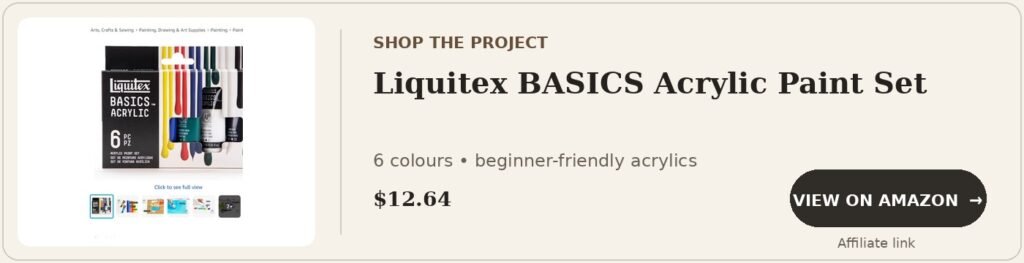
Start with a small canvas, black and white acrylic paint, a warm brown or taupe, and tiny amounts of ochre and orange for the candle.
You’ll also need a medium flat brush and one smaller detail brush.
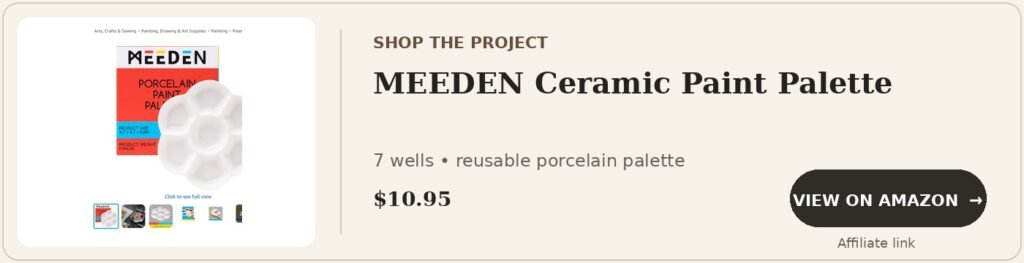
And don’t worry about buying an actual artist’s palette — an old ceramic plate works beautifully.
Step 1: Make the Background Moody
This is possibly the most satisfying part.
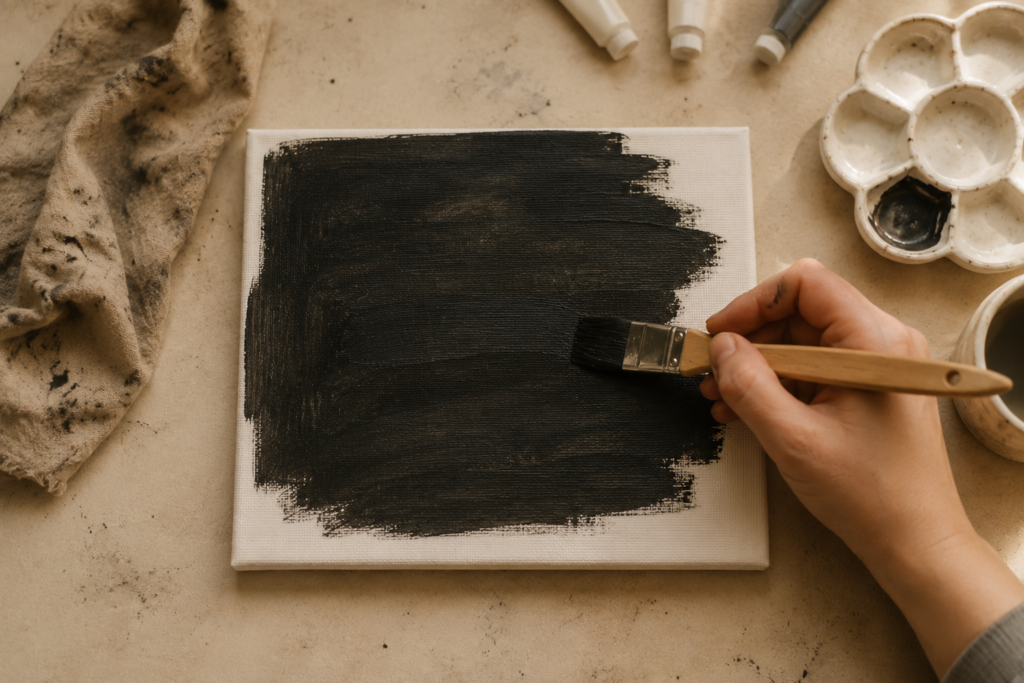
Cover the entire canvas with a very dark brown-black.
Don’t aim for perfect coverage.
Mix a little warm brown or taupe into some areas and allow your brush strokes to remain visible.
The slight variation gives us the feeling of an old painted background rather than a perfectly flat sheet of black.
And importantly: you can’t really get this part wrong.
Step 2: Paint One Very Imperfect Ghost
Let the background dry.
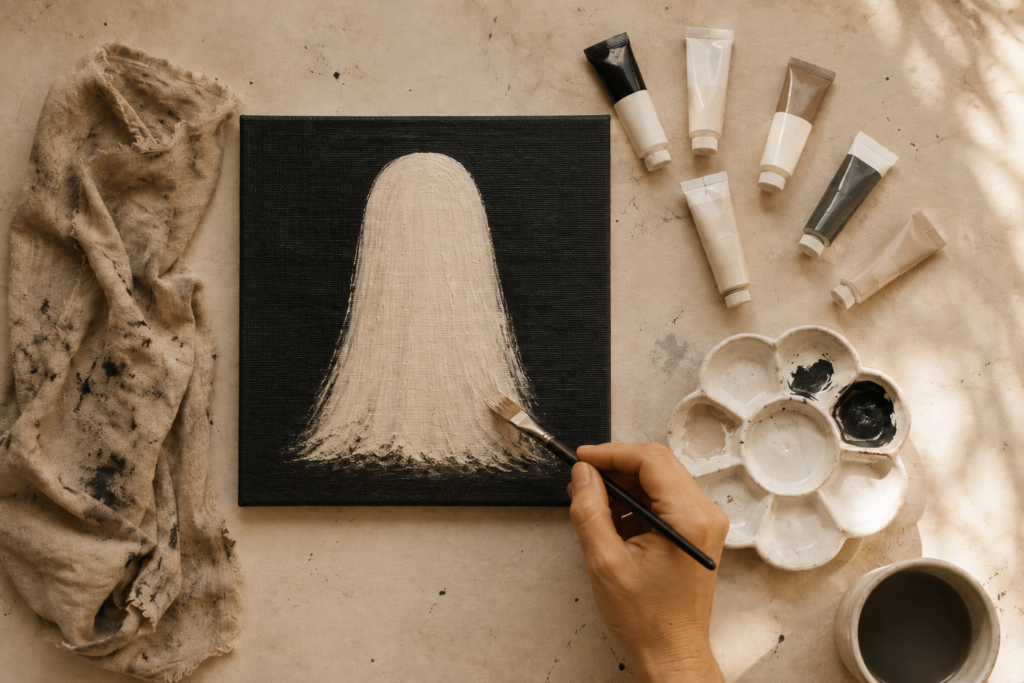
Then mix white with a tiny amount of brown so that it becomes a warm, aged ivory rather than bright white.
Start with a rounded arch for the ghost’s head.
From there, simply pull the paint downward with long vertical strokes.
Let the bottom become irregular.
Some strokes can be longer. Some shorter. Some can almost disappear into the background.
Do not outline the ghost.
The messier edge is what gives it that lovely painterly look.
Step 3: Give Him a Face
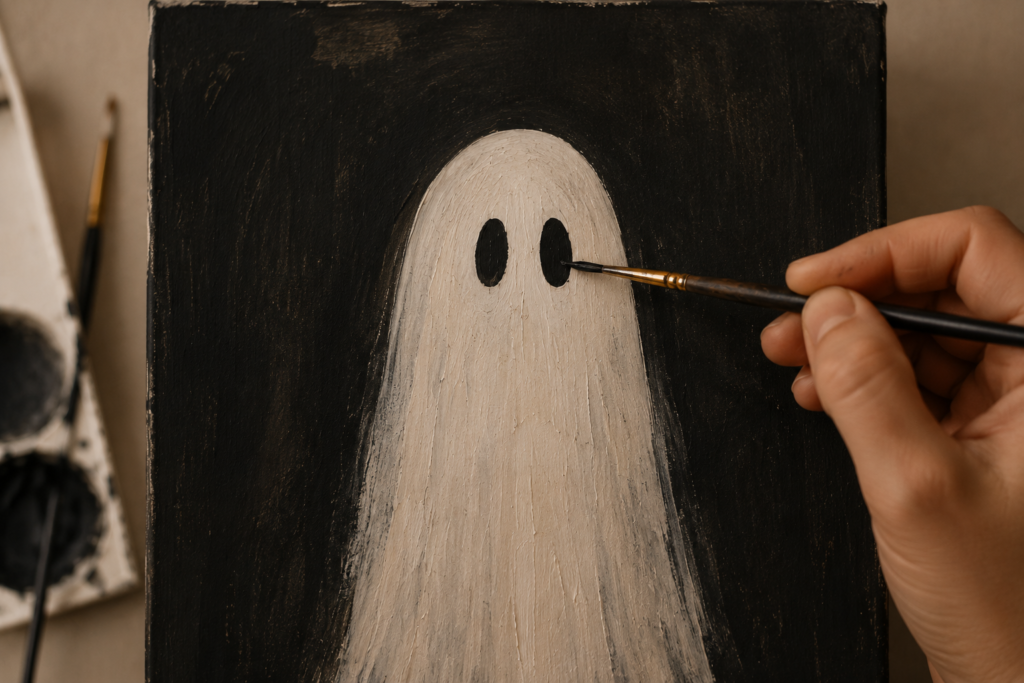
Now for the ridiculously easy part.
Two vertical black ovals.
That’s it.
They don’t even need to match.
In fact, we’d argue that slightly wonky eyes give your ghost considerably more personality.
Suddenly, the vaguely white blob you’ve been painting becomes extremely cute.
Step 4: Give Your Ghost a Candle
You could stop here.
But the tiny candle is what takes this from a cute ghost painting to something that feels particularly After Friday.
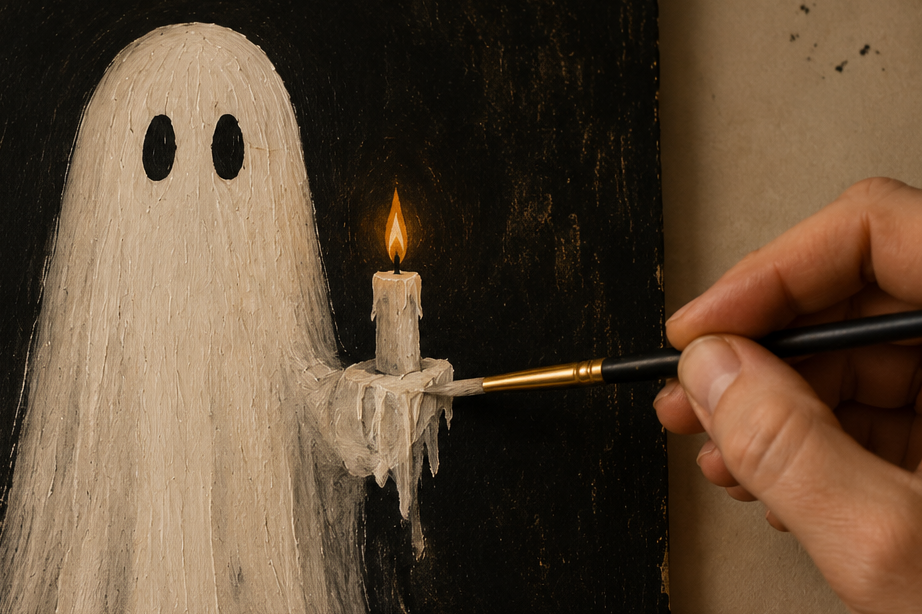
Paint a narrow warm-white rectangle beside the ghost.
Add a few deliberately uneven drips of wax.
Underneath, use dark brown and taupe to suggest a very simple antique candlestick.
We’re not trying to paint a realistic object. A few shapes are enough.
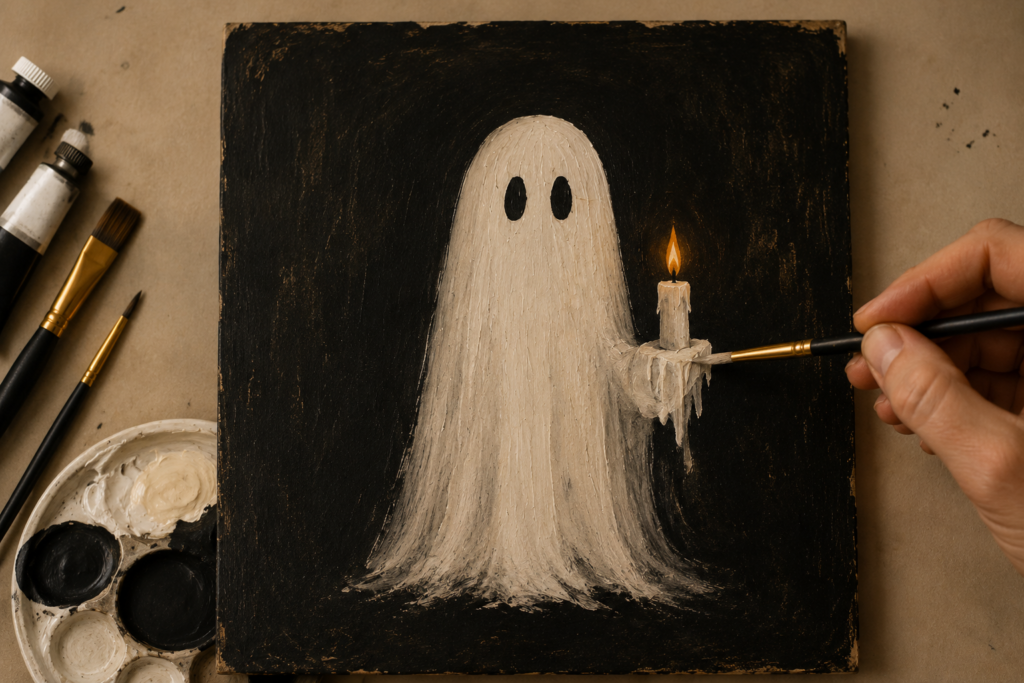
Step 5: Add One Tiny Bit of Colour
The entire painting has been neutral until now, which means one tiny flame will have an enormous effect.
Paint a small burnt-orange teardrop.
Before it dries, add a tiny amount of yellow or cream to its centre.
Then lightly dry-brush a little brown-orange around the flame.
That imperfect glow makes the candle feel illuminated without requiring any complicated blending.
Step 6: Make It Look Slightly Older
Once everything is dry, stand back.
If the ghost feels too bright, dry-brush a tiny amount of taupe over parts of the white.
If the background feels too flat, add a few barely visible brown or charcoal strokes.
You can even lightly distress the outer edges of the painting.
Remember what we’re going for:
old Halloween painting discovered at an antique shop — not freshly painted craft-store canvas.
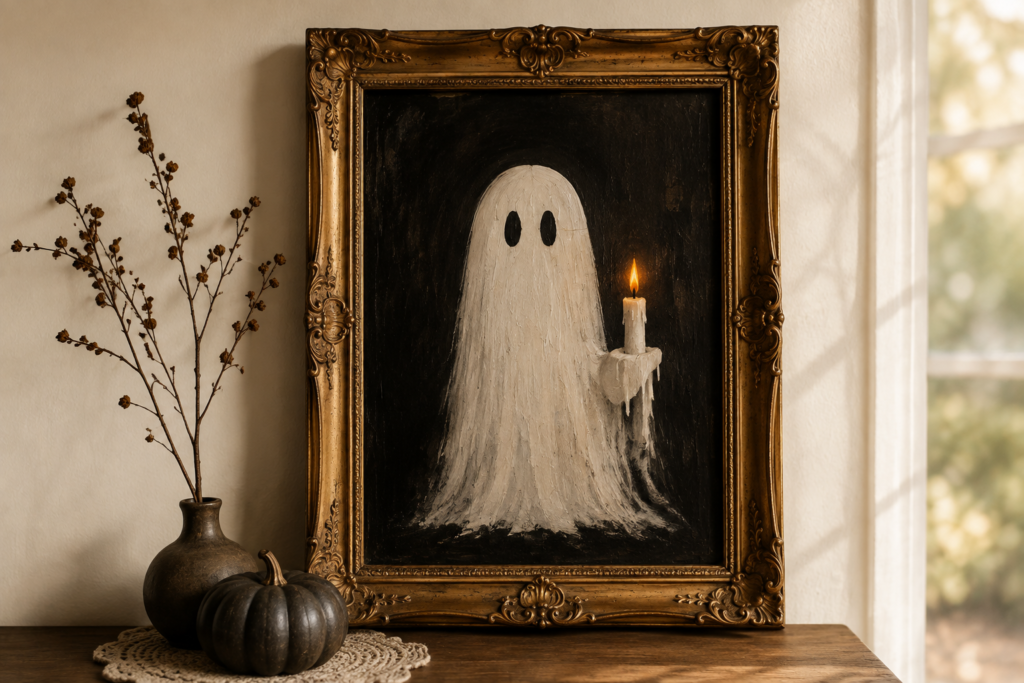
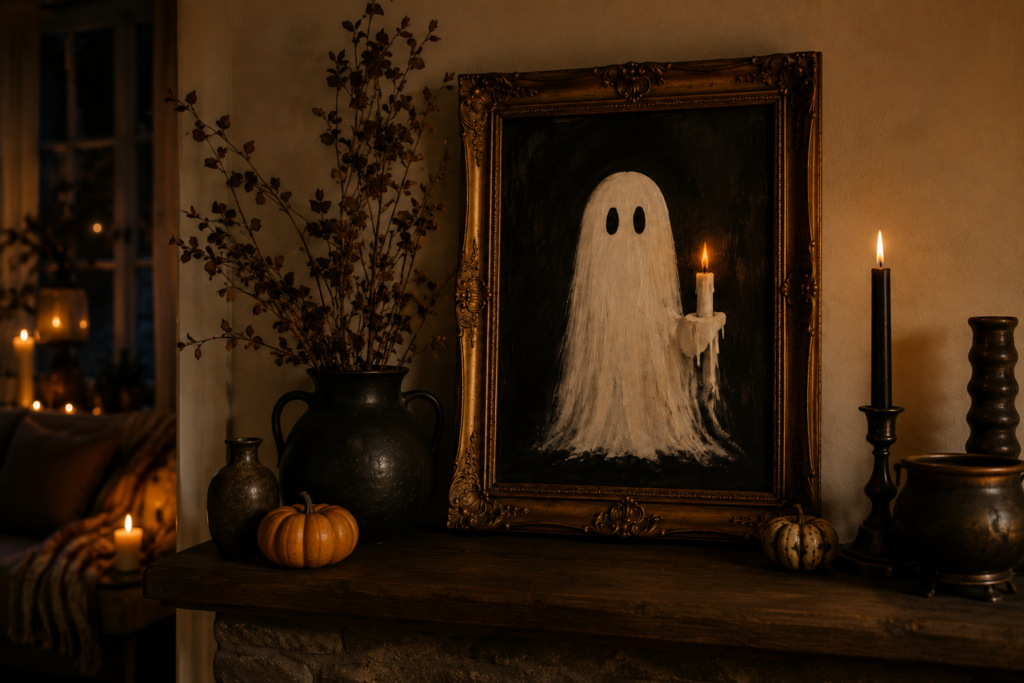
And Then: Frame It
This is where the magic happens.
Put the exact same little painting in a plain craft frame and an ornate vintage-style frame and they feel like completely different objects.
Look for black, aged brass, dark brown or antique gold.
Thrift stores are perfect for this, but inexpensive vintage-style frames work too.

Make Your Own Little Ghost Collection
Once you’ve painted one, the obvious problem is that you’ll probably want another.
Try a tiny 5 × 7 version.
Paint two ghosts instead of one.
Give one a pumpkin.
Make a miniature version for a bookshelf.
Or paint three small canvases and turn them into a slightly strange little Halloween gallery wall.
None of them need to match perfectly.
Actually, we’d rather they didn’t.
That’s half the charm.
The Weekend Test
This is exactly the kind of project we want for a Saturday afternoon.
Minimal supplies.
No previous experience.
No complicated drawing.
And in a couple of hours, you’ve made something that actually looks good in your home.
Pour the coffee, put something spooky on in the background and paint yourself a ghost.
[SHOP THE PROJECT]
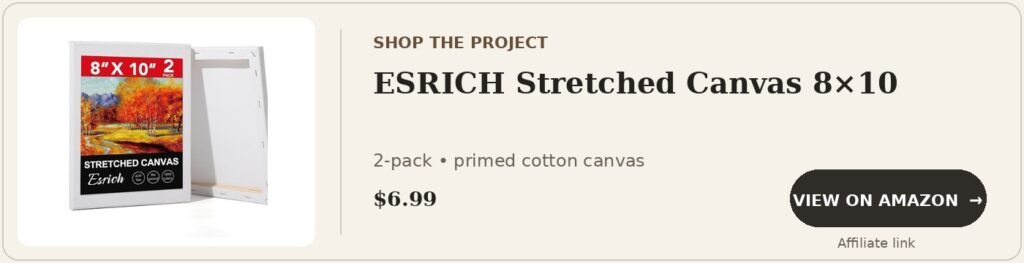



Affiliate disclosure: As an Amazon Associate, I earn from qualifying purchases. After Friday may earn a small commission from purchases made through affiliate links, at no additional cost to you.