
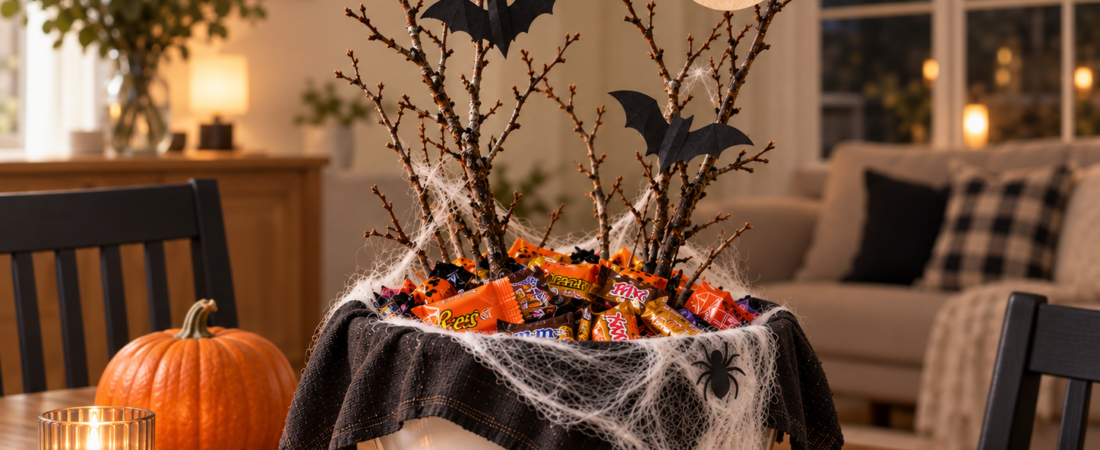
You do not need a ceramic ghost, a plastic cauldron, or a dedicated Halloween serving dish to make the candy table feel festive.
Start with the plain bowl already in your kitchen.
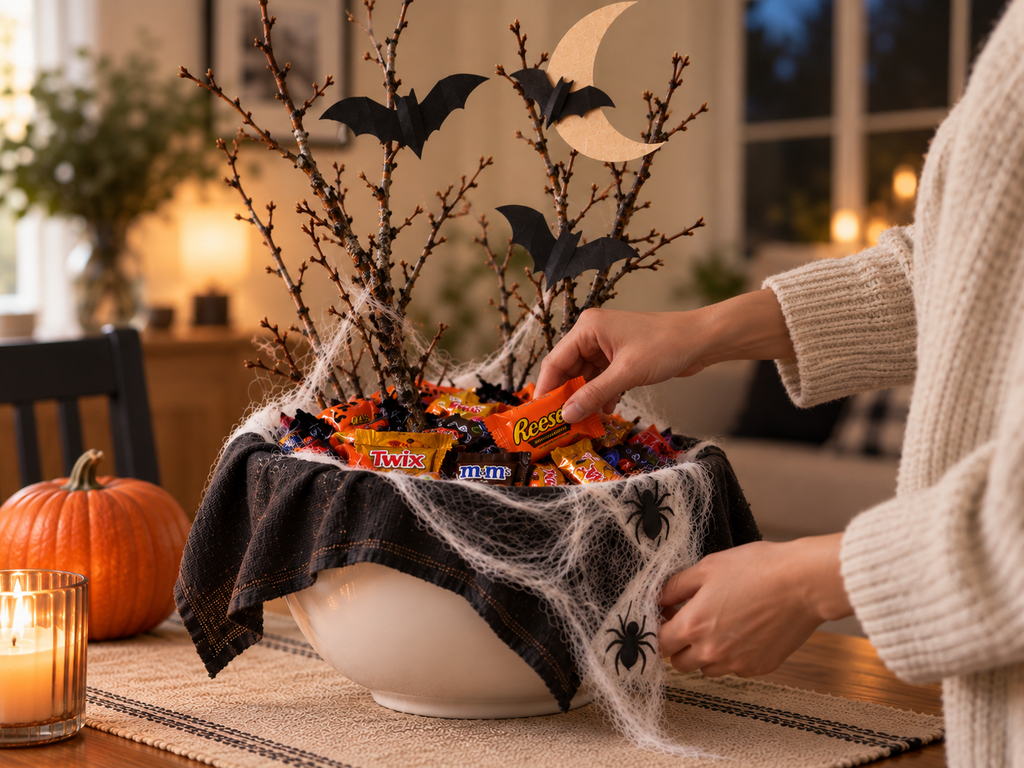
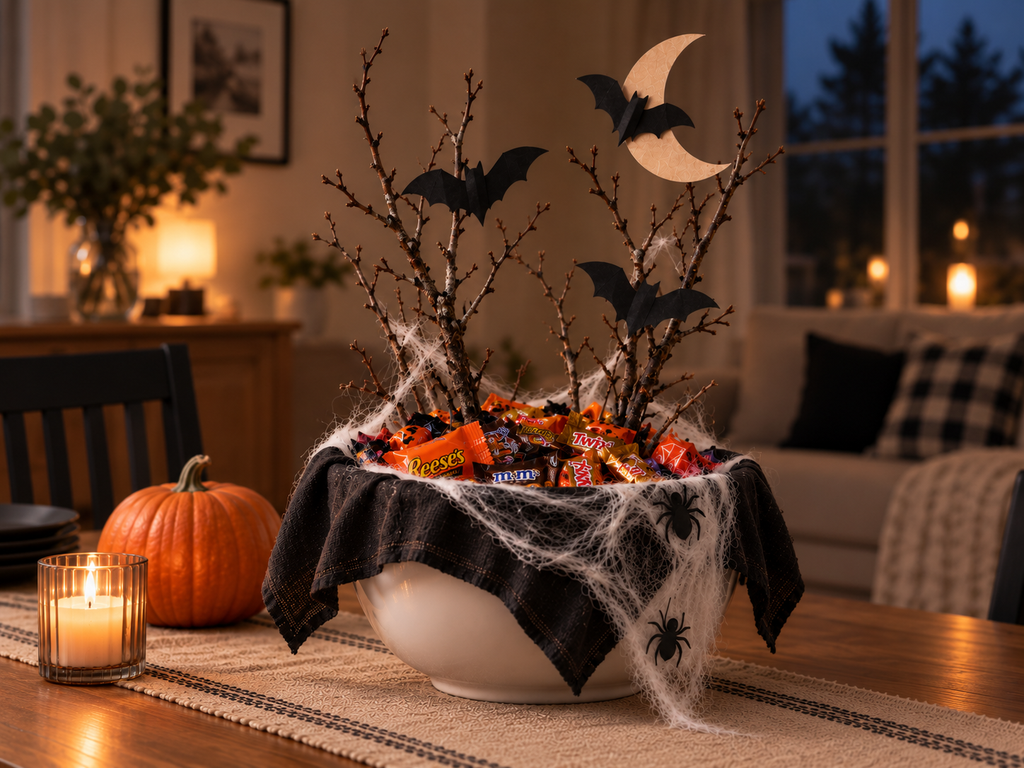
A little black fabric softens the shape. Wispy cobweb gives it texture. A few bare branches add height. Then three or four paper bats and a crescent moon turn the whole thing into a Halloween centerpiece without permanently changing the bowl underneath.
Once everything is on the table, the styling itself takes about ten minutes—and when Halloween is over, you can take it apart and put the bowl straight back in the cupboard.
Disclosure: After Friday participates in the Amazon Associates Program. As an Amazon Associate, we earn from qualifying purchases.
What You’ll Need
The photographed version uses a large white ceramic serving bowl because the black fabric and branches read especially well against it, but the idea works with most plain bowls you already own.
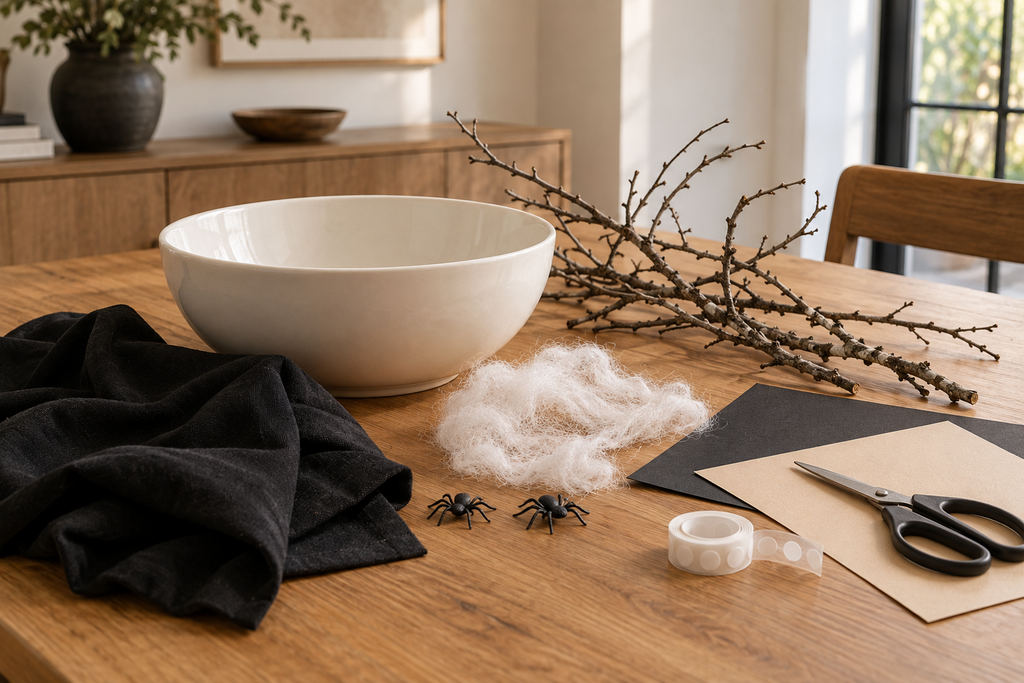
Gather:
- one medium or large household bowl
- a piece of black fabric
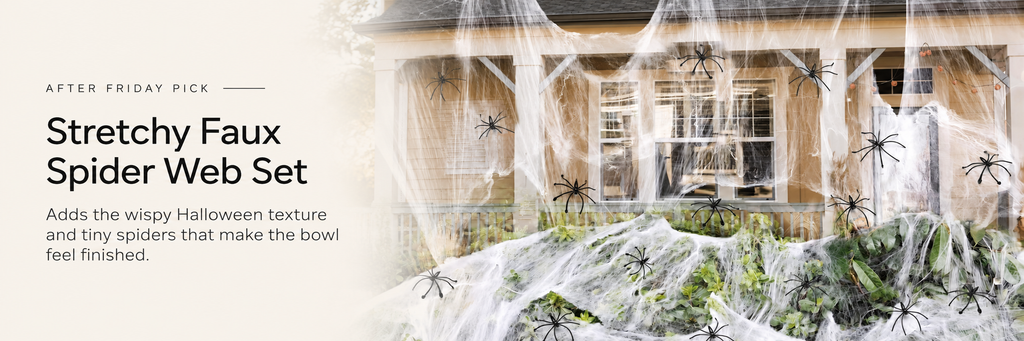
- faux cobweb
- two or three bare branch clusters
- black cardstock or paper
- beige or kraft-colored cardstock for the moon
- scissors
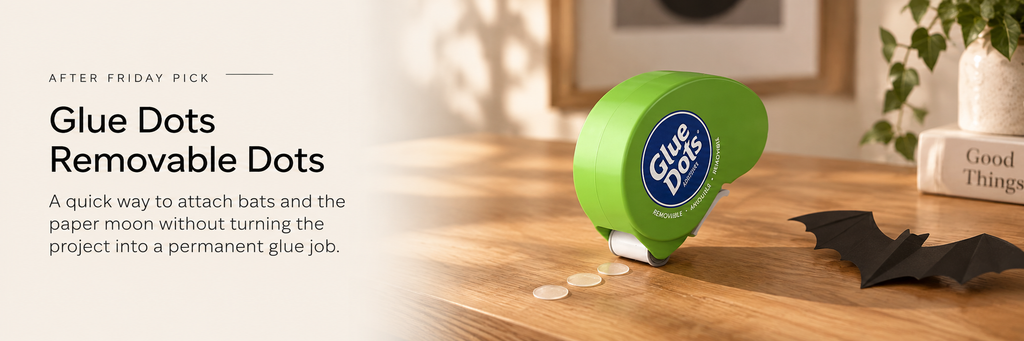
- removable glue dots, small pieces of tape, or another lightweight removable adhesive
- two or three small black spiders
- wrapped Halloween candy
A black cloth napkin, an old scarf, a scrap of cotton, or another matte black fabric is enough. There is no need to buy specialty fabric for something that will mostly be folded around the rim.
For the cobweb, use much less than you think you need. Thin strands look more convincing than a thick white layer covering the entire bowl.
If you want to remove the cutting step altogether, pre-cut paper bats are also an option.
The 10-Minute Halloween Candy Bowl
The key is to build the bowl in layers rather than trying to decorate everything at once.
1. Drape the Bowl With Black Fabric
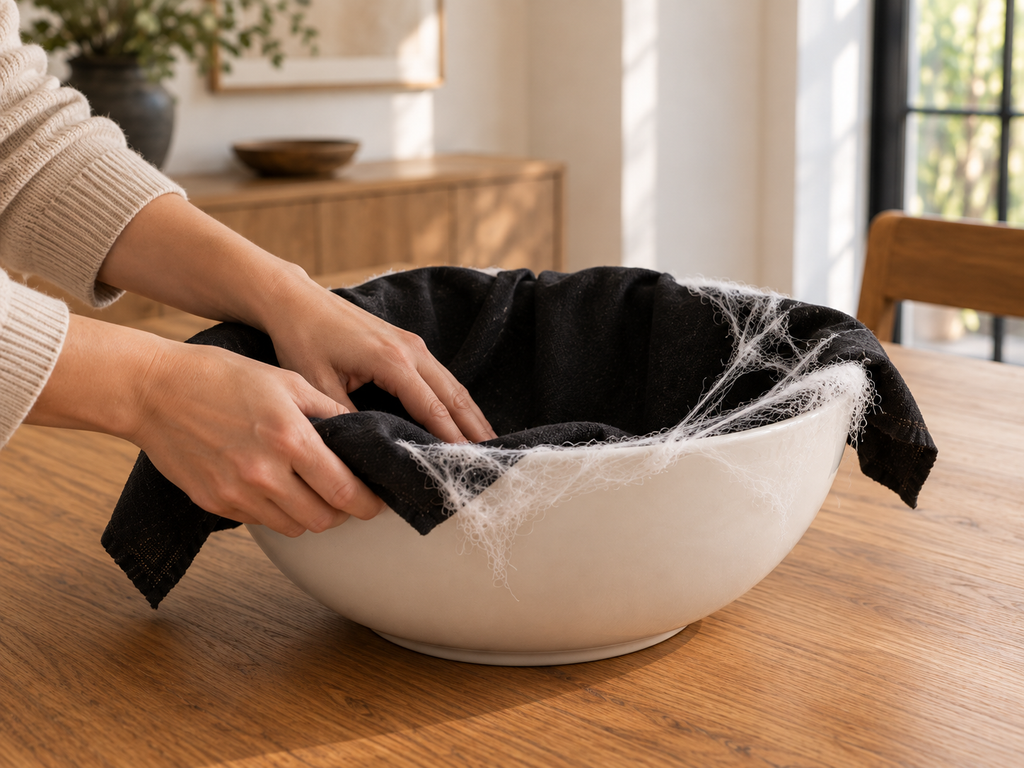
Place the fabric over the bowl and gently push the center down inside.
Leave several uneven points hanging over the outside edge rather than trying to make every fold symmetrical. You still want plenty of the white bowl visible underneath.
The fabric should look casually draped, not upholstered.
Pull a few very thin pieces of faux cobweb across the rim and down one or two sides. Do not cover the whole bowl.
A good rule: stop while you can still clearly see both the black fabric and the white ceramic.
2. Add the Branches
Use two or three small clusters rather than one dense bunch.
Aim for branches with:
- irregular shapes
- plenty of small offshoots
- different heights
- enough open space between them for the bats to remain visible
Perfectly straight craft-store sticks tend to look more decorative. Real bare branches have the slightly awkward shapes that make this work.
If you collect branches outside, brush away loose dirt or debris and let them dry completely before bringing them to the table. Because the branches, fabric, and webbing share the bowl with the candy, use wrapped candy only.
Position the tallest branch slightly off-center, then use a shorter cluster on the opposite side.
The arrangement should feel asymmetrical rather than like a miniature tree planted directly in the middle of the bowl.
How to Keep the Branches Upright
This is the only part worth solving before you pour in the candy.
For a deep bowl, a small bundle of branches can often be tied together near the bottom and held securely by the candy around it.
If the branches wobble, place a short cup, ramekin, or other small container inside the larger bowl and use it as a hidden branch holder. Fill around it with wrapped candy until the inner container disappears.
For an especially light setup, bundling the bottoms with a rubber band before placing them in the hidden cup makes arranging them much easier.
You do not need floral foam unless you already have some.
The final bowl should still look like an ordinary candy bowl—not a floral arrangement.
3. Add the Bats and Crescent Moon
Cut three or four simple bat silhouettes from matte black cardstock.
Do not worry about intricate shapes. Slightly different sizes look better here than identical bats.
Fold the center of each bat gently so the wings come forward. That tiny bit of dimension keeps them from looking like flat stickers.
Attach them directly to the branches with small removable glue dots or narrow pieces of tape.
Place them at different heights.
One bat can partially overlap the crescent moon—the overlap makes the two paper shapes feel like one little scene rather than separate decorations floating in the branches.
For the moon, cut a crescent from beige, cream, or kraft-colored card rather than bright yellow. The softer color keeps the bowl from tipping into cartoon Halloween territory.
4. Add the Candy and the Spiders
Now fill the bowl with wrapped candy.
Let the candy do some of the visual work: its orange, black, purple, red, and gold packaging provides plenty of seasonal color, so the rest of the setup does not need more Halloween props.
Tuck one or two small spiders into the webbing rather than covering the arrangement with them.
One near the rim and another lower down the web is enough.
That is the finished bowl.
The Styling Trick That Keeps It From Looking Overdone
Halloween crafts can become visually busy very quickly because almost every individual material is already decorative.
Here, each layer has one job:
White bowl: gives the arrangement a familiar, ordinary base.
Black fabric: adds contrast.
Cobweb: adds texture.
Branches: add height and shape.
Bats and moon: communicate Halloween.
Candy: supplies the color.
You do not need another layer.
That means no pile of mini pumpkins around the base, no skulls tucked into the branches, no orange ribbon, no sign, and no extra Halloween figurines just because there is space for them.
If something feels slightly bare, first step back from the table.
It may simply be breathing room.
You may also like -> Halloween Decor for People Who Don’t Love Halloween
How to Adapt It to the Bowl You Already Own
The exact proportions matter less than the relationship between the bowl and the branches.
If Your Bowl Is Wide and Shallow
Keep the branches shorter and spread them slightly wider.
A very tall branch arrangement over a shallow bowl can feel top-heavy, so use two compact clusters and keep most of the candy visible.
If Your Bowl Is Deep and Narrow
Take advantage of the extra support.
You can use slightly taller branches, but keep plenty of empty space between them so the upper half does not become a dense tangle.
If Your Bowl Is Small
Scale the idea down instead of trying to fit every element.
Use:
- one small branch cluster
- two bats
- one small crescent moon
- a very light layer of webbing
The idea still reads.
If Your Bowl Isn’t White
Cream, clear glass, stoneware, and other quiet neutrals can work with the same method.
For a dark bowl, use less black fabric so the bowl and fabric do not visually disappear into each other.
The photography for this project stays centered on a common white household bowl because that contrast makes the transformation especially clear—but buying a new bowl is not the point.
Make It in This Order
If you are actually trying to finish before trick-or-treaters arrive, do not fuss with the arrangement indefinitely.
Use this order:
- fabric and webbing
- branches
- bats and moon
- candy and spiders
That sequence matters because the candy locks the lower part of the arrangement into place. If you fill the bowl first, you will spend the next few minutes repeatedly moving candy out of the way.
Likewise, attach the paper pieces after the branches are positioned. Otherwise, every adjustment risks knocking them off.
This is one of those projects where the fastest method also produces the cleaner result.
A Few Details That Make a Bigger Difference Than More Decor
Keep the Webbing Thin
Stretch it until it is barely there.
Dense cottony clumps look more like stuffing; irregular translucent strands read as cobweb.
Use Fewer, Larger Bat Shapes
Three clearly visible bats usually have more impact than ten tiny ones.
Leave branches visible around them.
Let the Branches Be Uneven
A crooked branch leaning toward the moon is more interesting than a perfectly balanced arrangement.
Do not trim away every awkward twig.
Keep the Moon Soft, Not Bright Yellow
Beige, parchment, or kraft card fits naturally with warm wood, cream ceramics, and black paper.
Leave the Table Mostly Alone
The candy bowl is already a centerpiece.
A small pumpkin or one light source nearby is enough.
Easy Halloween decor ideas -> 7 Easy Halloween Decor
Where to Put the Finished Candy Bowl
The dining table works particularly well because the branches have room above them, but the same bowl can also sit on:
- a kitchen island
- an entry table
- a console near the door
- a sideboard
- a covered porch table, if conditions are dry and the materials are protected
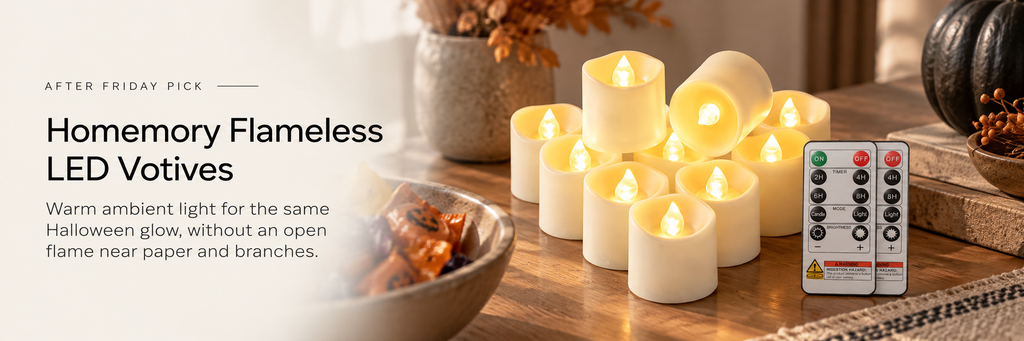
If you want a little light nearby, choose a flameless candle rather than an open flame. Paper bats, faux cobweb, dry branches, and fabric are all materials that should be kept well away from real candle flames.
When Halloween Is Over
Remove the bats and moon, pull away the cobweb, shake out the fabric, and return the bowl to normal use.
Keep the paper shapes flat in an envelope if you want to repeat the setup next year.
The branches can be saved too, but they are easy enough to replace.
That is part of what makes this version useful: the Halloween decoration is the styling—not the bowl itself.