There are Halloween costumes you buy, wear once and forget about — and then there are the slightly ridiculous little projects that make a Saturday afternoon more fun.
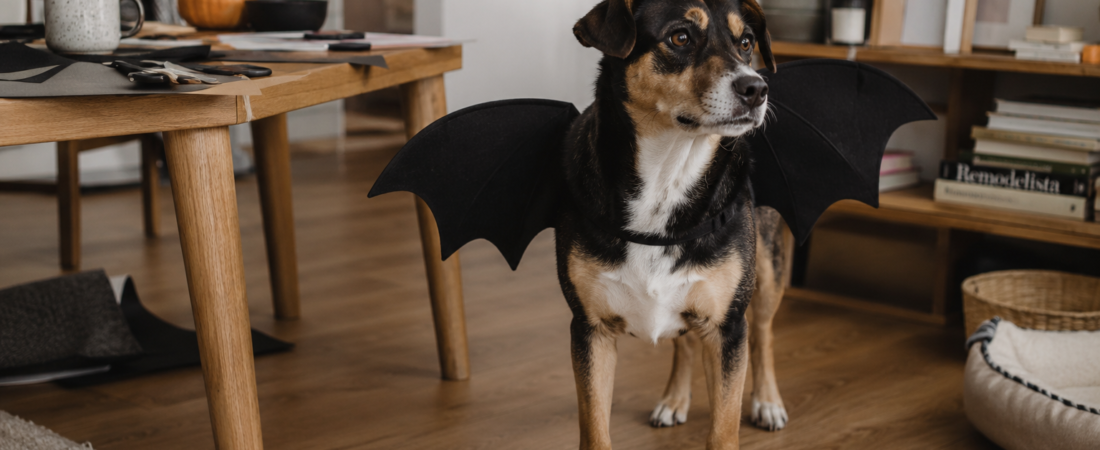
These DIY bat wings are firmly in the second category.
They are simple enough to make without serious sewing skills, light enough to keep the finished costume manageable, and much more charming when the edges are not completely perfect.
The basic idea is to make one flexible pair of black wings and attach them to your pet’s existing harness rather than directly around their neck or body. That makes the costume easier to put on, adjust and remove.
And if your pet decides that being a bat is simply beneath them? You still get a good Halloween craft out of the afternoon.
What You’ll Need
You do not need a huge craft haul for this project.
For one pair of wings, gather:
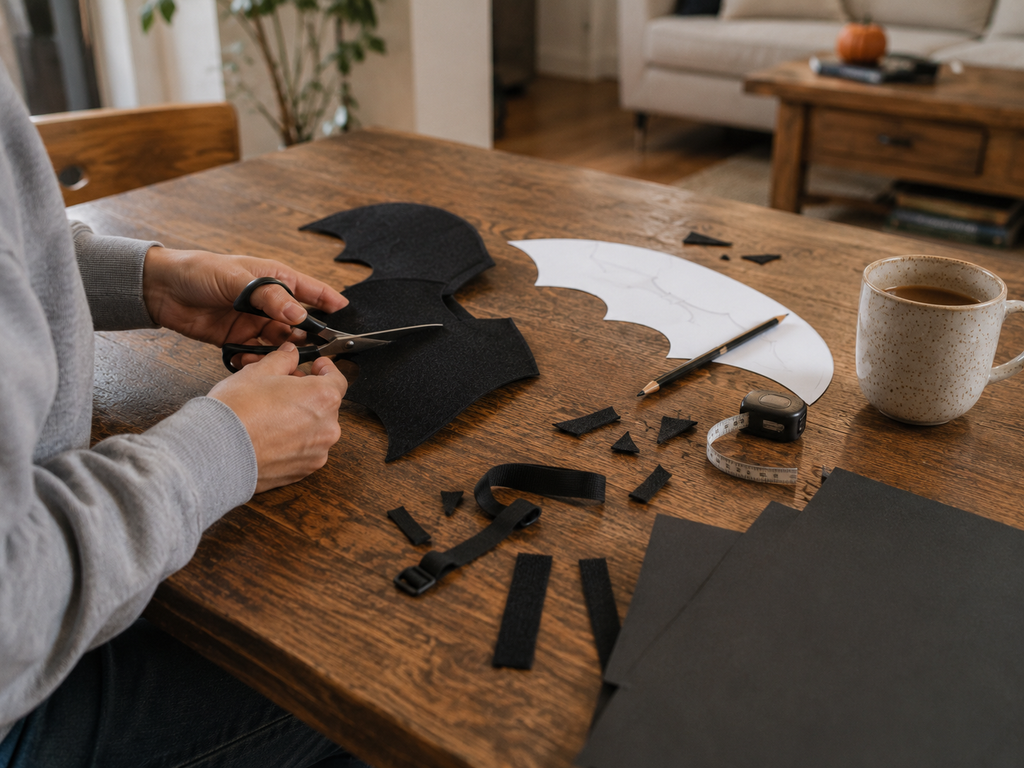
- black felt
- thin, flexible black craft foam
- plain paper for the template
- pencil or washable fabric marker
- sharp scissors
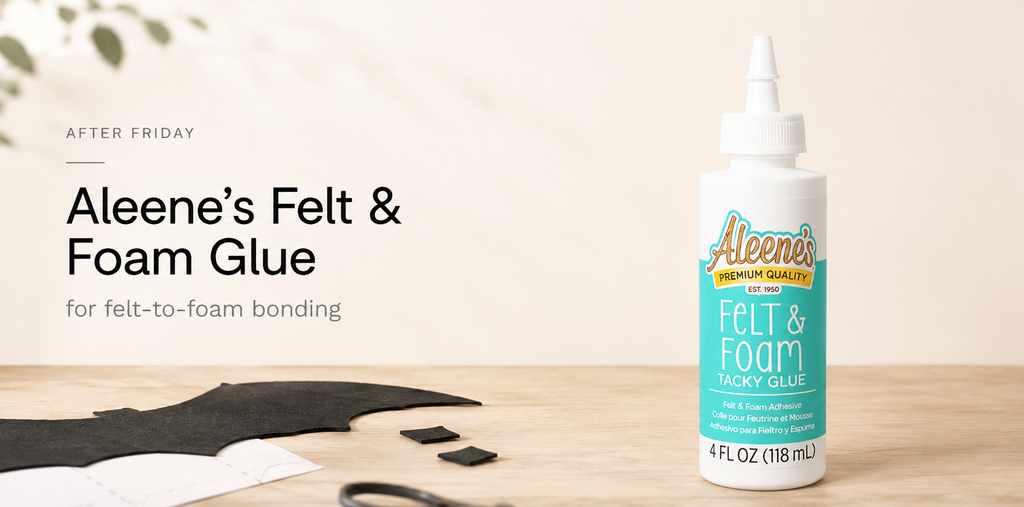
- fabric or craft glue suitable for felt and foam
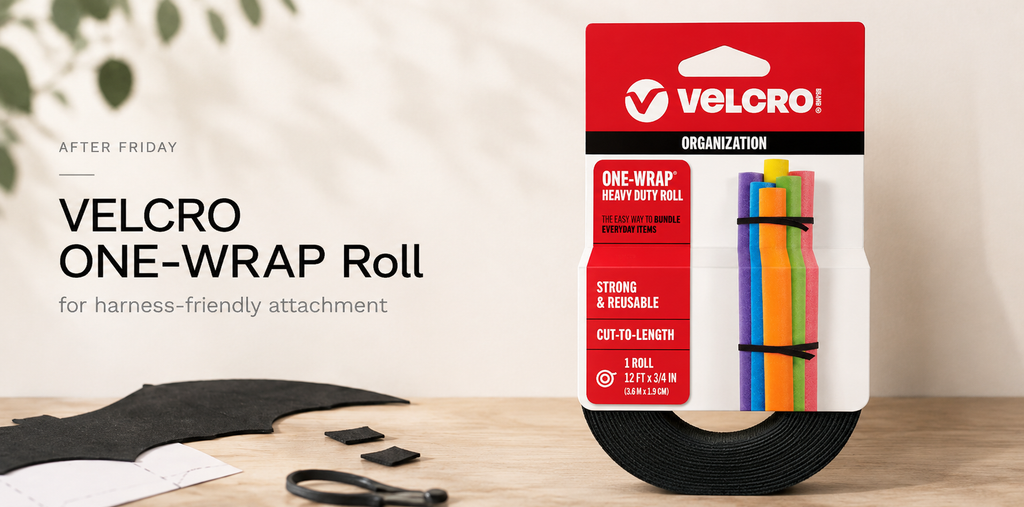
- black hook-and-loop straps
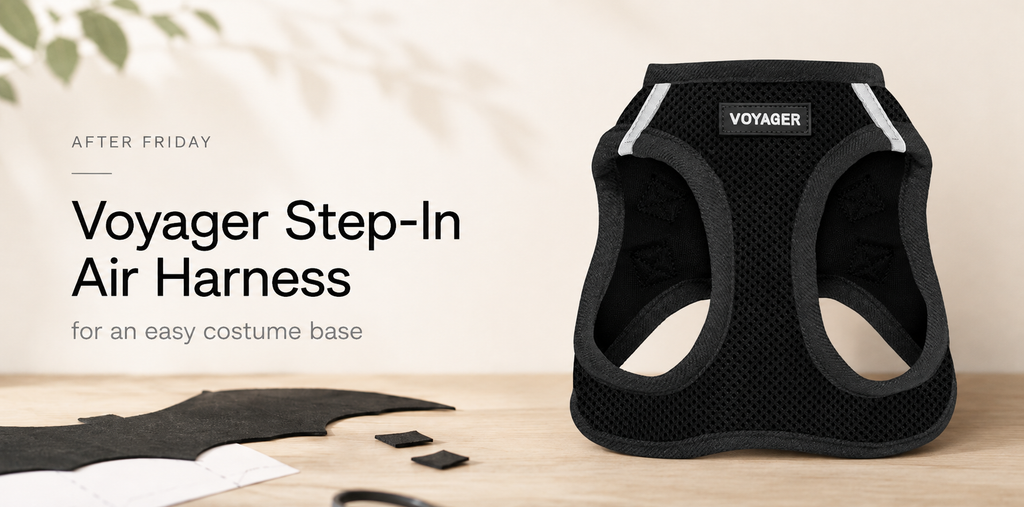
- your pet’s regular harness
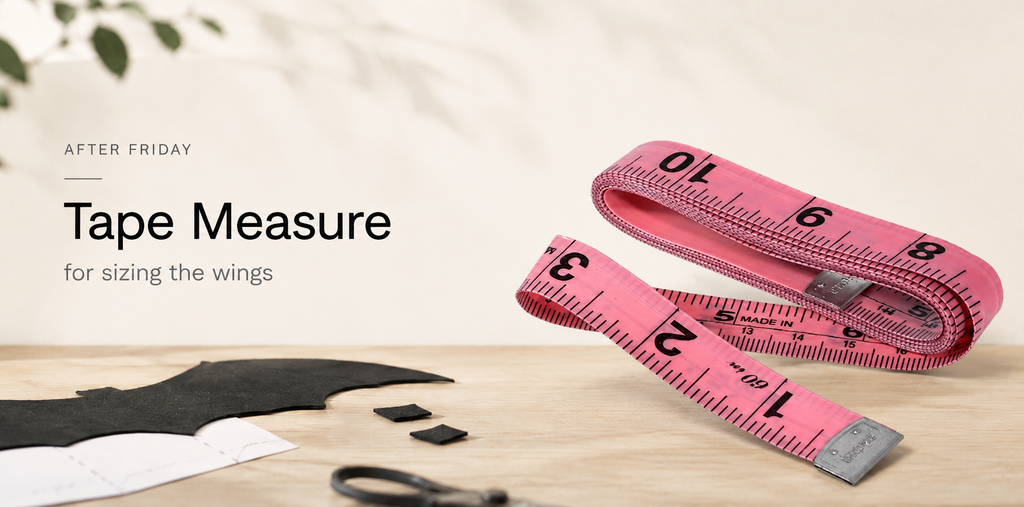
- ruler or measuring tape
The foam gives the wings enough structure to hold their shape while the felt keeps them matte and soft-looking.
For a very small pet, two layers of stiff felt may be enough without the foam center.
Skip cardboard if you can. It tends to crease, feels bulkier and does not hold up especially well if the costume gets damp.


First, Size the Wings to Your Pet
The easiest mistake to make is creating beautiful wings that are far too large.
They should look like wings — not furniture.
Start with the harness your pet already wears comfortably.
Measure roughly across the upper back where the wings will sit. Then decide how far you want each wing to extend beyond the body.
As a visual rule, the finished wings should feel proportional when viewed from above and should not interfere with your pet’s shoulders or legs.
A rough starting point:
- Cats and toy-size dogs: around 10–12 inches total wingspan
- Small to medium dogs: around 14–18 inches
- Larger dogs: around 18–24 inches
These are only starting points. Your pet’s build matters more than the number.
When in doubt, make the wings smaller.
Small bat wings are funnier anyway.
Step 1: Make a Simple Bat Wing Template
You do not need artistic drawing skills for this.
Fold a sheet of paper in half.
Starting near the fold, sketch one half of the wing shape:
- a gentle curve upward from the center
- a pointed outer tip
- three or four shallow scallops along the bottom edge
- a short central section where the two wings meet
Cut through both layers of paper and unfold it.
You now have a symmetrical pair of wings.
Hold the paper template over your pet’s harness — without attaching anything yet — to check the proportions.
Trim it until it feels right.
A slightly compact wing usually looks better than an oversized one.
Step 2: Cut the Flexible Center
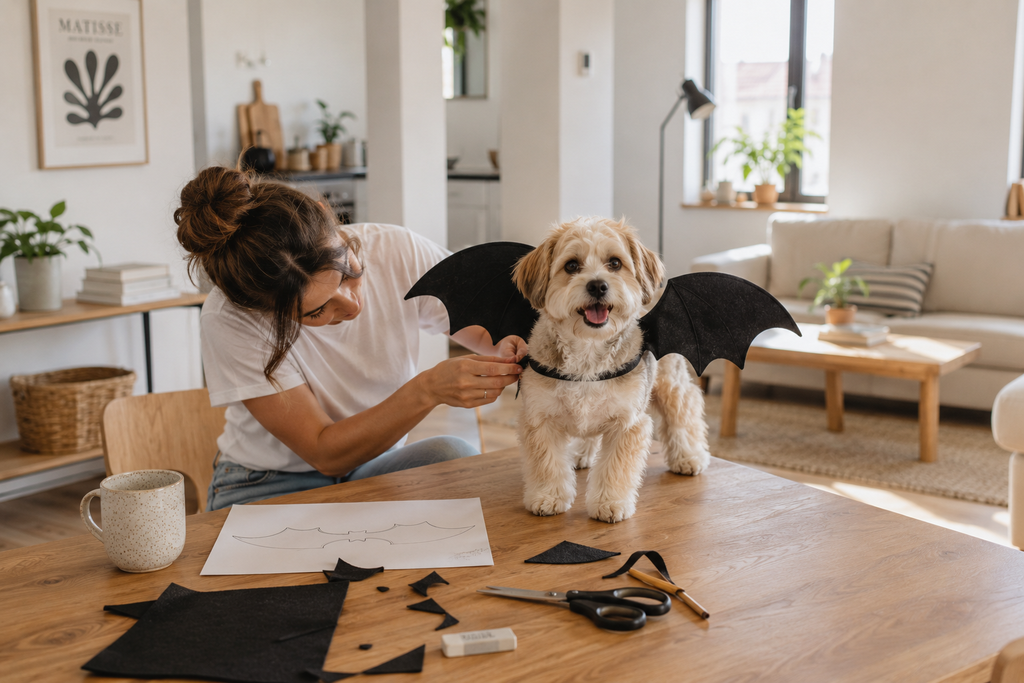
Place the paper template over the black craft foam and trace around it.
Cut one complete wing shape.
Before moving on, gently bend the foam.
The finished piece should flex easily rather than behaving like a rigid board.
If it feels heavy or stiff in your hand, it will probably feel heavy on your pet too.
This is also a good point to hold the unfinished wings against the harness one more time and check the scale.
Step 3: Cover the Wings With Felt
Place the foam on top of your black felt.
Trace around it twice so you have one felt layer for the front and another for the back.
Cut both pieces.
Apply a thin, even layer of fabric glue to one side of the foam and press the felt into place.
Repeat on the other side.
Once everything is dry, trim any uneven felt around the edge.
Do not worry about making the shape machine-perfect.
A slightly handmade edge is part of what makes these look charming instead of like a store-bought costume.
Optional: Add Wing Detail
If you want a little more definition, create subtle wing lines using:
- narrow strips of black felt
- simple black stitching
- a black fabric marker
Keep everything black.
The texture should do the work rather than contrasting colors or glitter.
This is After Friday Halloween — not elementary-school bulletin-board Halloween.
Step 4: Add the Harness Attachment
This is the part that makes the project much easier to wear.
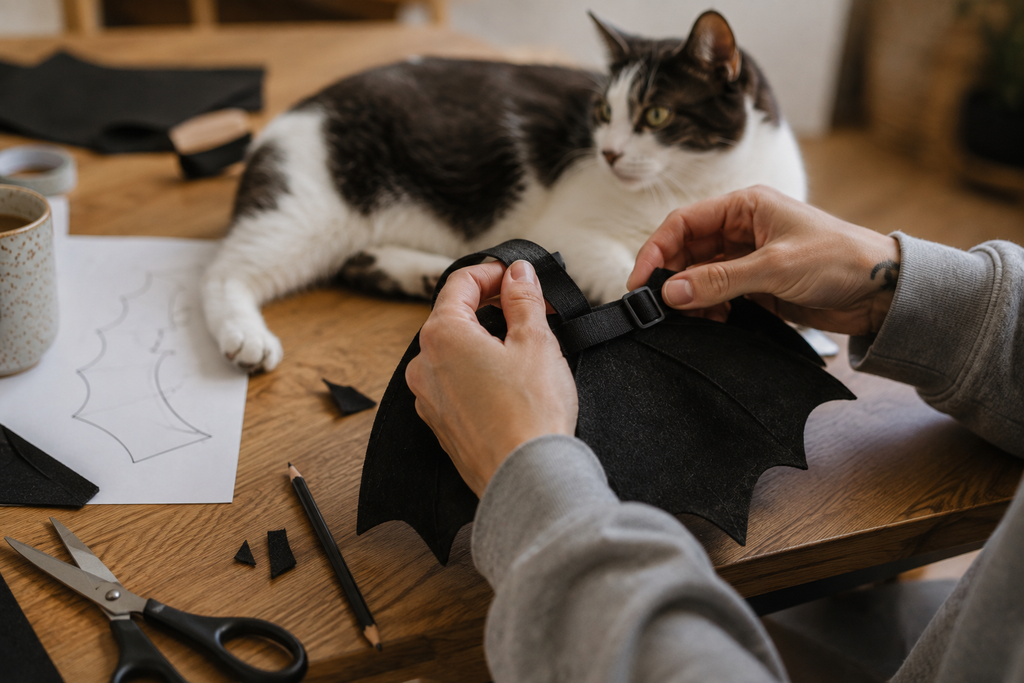
Instead of attaching elastic around your pet’s neck or stomach, add two short hook-and-loop loops to the underside of the wings.
Position them so they line up with the straps on the top of your pet’s regular harness.
Secure the loops firmly to the wing base.
Depending on your materials, you can:
- sew them through the felt layers
- glue and reinforce them
- combine a few small stitches with fabric adhesive
The important thing is that the wings attach to the harness rather than directly to the pet.
Step 5: Do a Comfort Check Before Halloween
Put the regular harness on your pet first.
Then attach the wings.
Before reaching for the camera, check that your pet can:
- walk normally
- turn around
- sit comfortably
- move their shoulders freely
- lie down without the wings pressing awkwardly into them
The wings should sit on the upper back without sliding toward the neck.
Keep the first fitting very short.
A treat and thirty seconds of wearing the costume is a much better introduction than insisting on a full Halloween photoshoot immediately.
Making Bat Wings for a Cat
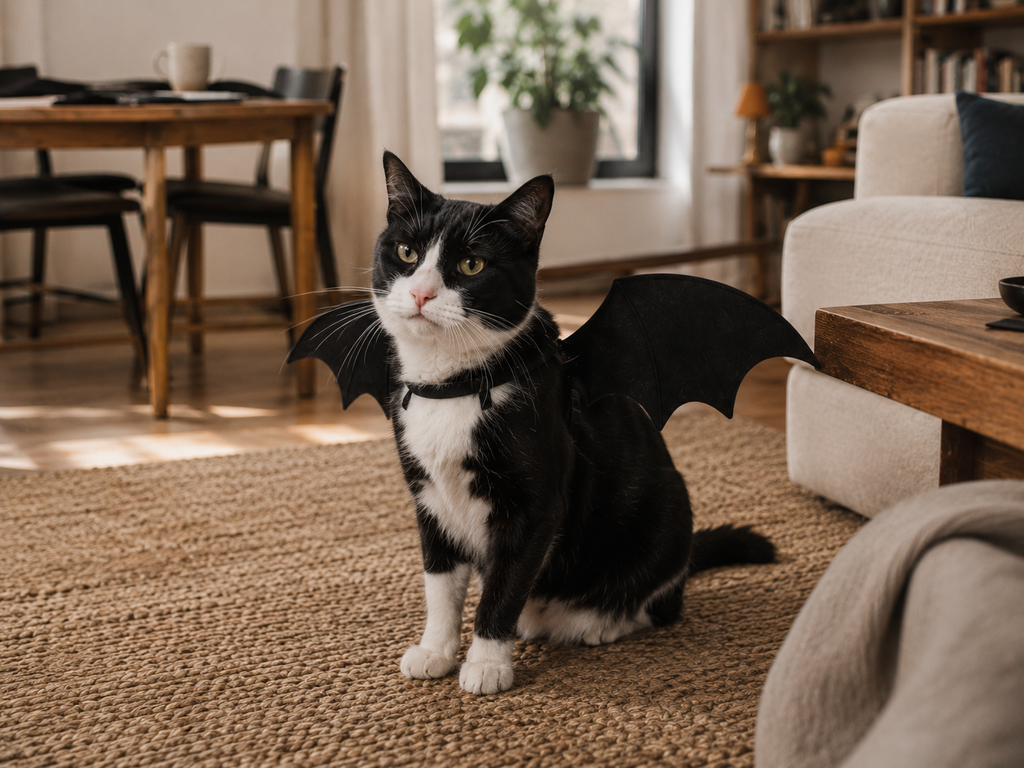
The same idea works for cats, but scale everything down.
Make the wings:
- lighter
- narrower
- softer
- shorter in span
And only try the costume if your cat already tolerates wearing a harness or similar accessories.
A cat that freezes, crouches, swats at the costume or immediately tries to escape has provided a fairly clear review.
Remove the wings.
Halloween has survived worse.
For cats that are comfortable in a harness, a tiny pair of wings photographed for a minute or two indoors can be enough.
Keep the Costume Pet-Friendly
The best pet costume is the one your pet barely has to think about.
A few rules make a big difference.
Keep everything lightweight
Avoid:
- heavy decorations
- bells
- dangling charms
- wire
- glitter
- large plastic pieces
The wing silhouette is enough.
Never block movement
The wings should stay clear of the legs, tail, ears and face.
If your pet walks differently after you put them on, resize the costume.
Attach the wings to a harness
Do not tie strings tightly around your pet’s chest, neck or limbs.
A properly fitted harness provides a much easier attachment point.
Supervise the entire time
These are costume wings, not something a pet should wear unattended.
Remove them after the photo, walk around the house or Halloween moment is over.
Let your pet opt out
Some pets love attention.
Others regard Halloween costumes as a violation of several international treaties.
Respect the second group.
You can still make the wings and photograph them beside your pet, attach them to a stuffed toy for the evening or save them as part of your Halloween decor.
Easy Ways to Change the Look
The basic black version is intentionally simple, but there are a few ways to personalize it without losing the clean silhouette.
Make the edges more dramatic
Add one extra scallop to each side for slightly more theatrical wings.
Make tiny wings
Comically undersized wings can look especially good on larger dogs.
Use charcoal instead of pure black
A very dark charcoal felt can photograph beautifully against black fur.
Add subtle stitching
Black-on-black stitching can create the suggestion of wing bones without adding obvious decoration.
Make matching wings
If you have two pets — and enough patience — make a smaller and larger pair from the same template.
The craft does not need much more than that.
How to Get a Better Halloween Photo
Once the wings are finished, resist the urge to build an entire Halloween set around them.
The costume is already the visual joke.
A normal part of your home usually photographs better.
Try:
- beside the sofa
- near a window
- in the hallway
- next to the craft table
- sitting on a favorite rug
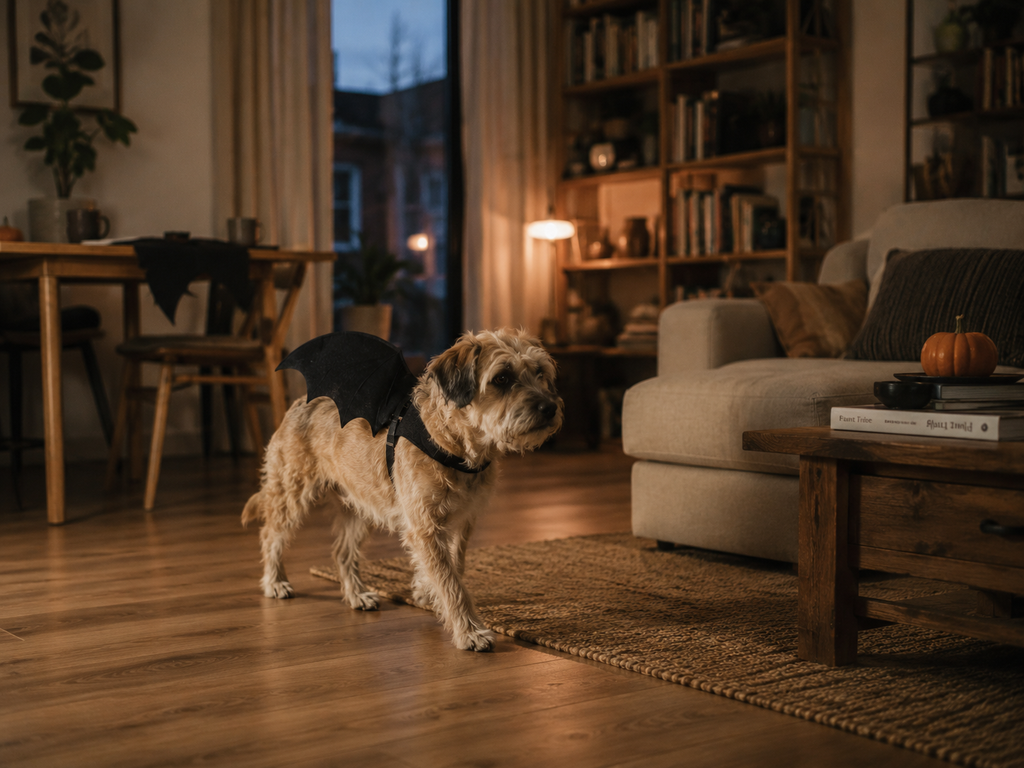
Use daylight when possible and get the camera down closer to your pet’s eye level.
Keep one or two subtle Halloween elements in the background — a small pumpkin is plenty.
And keep taking photos between the posed moments.
The slightly unimpressed look, the sudden walk away or the glance toward the person holding the treats will probably be the photograph you actually keep.
A Halloween Project That’s Actually Worth Making
This is not the kind of project that needs an entire craft room or a perfectly styled weekend.
It is a sheet of black felt, a few cuts, a slightly suspicious pet and an hour spent making something purely because Halloween makes it reasonable.
Make the wings small.
Keep them comfortable.
Take the photo.
Give your pet the treat they were clearly promised.
And when Halloween is over, tuck the wings into the decoration box for next year.
Tiny bat costume: accomplished.
Affiliate Disclosure
This post may contain affiliate links. If you purchase something through one of these links, After Friday may earn a small commission at no additional cost to you. We only feature products that make sense for the project or story.